
Last updated September 20, 2026
Free on-site gate assessment - hinges, posts, and your LiftMaster or Nice gate operator checked before anything is quoted
The assessment is free and the quote is the invoice.
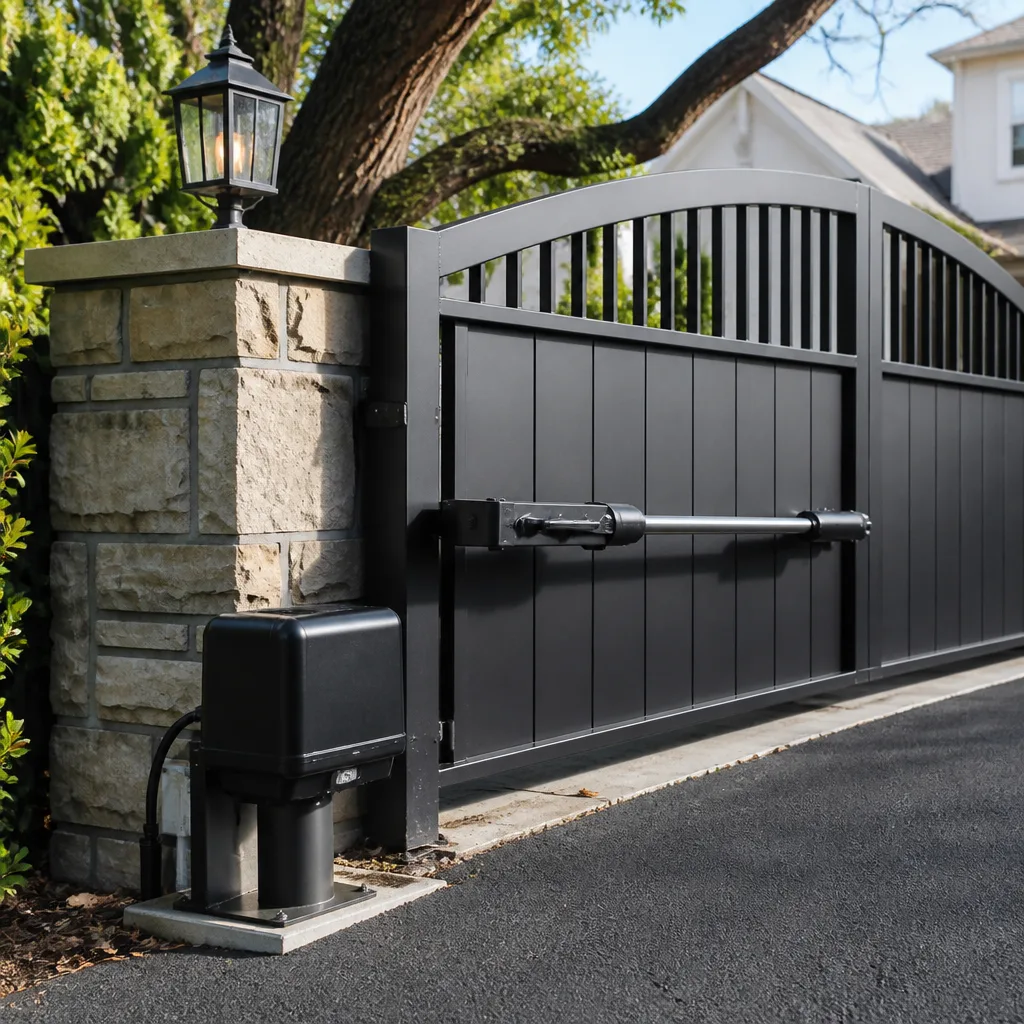
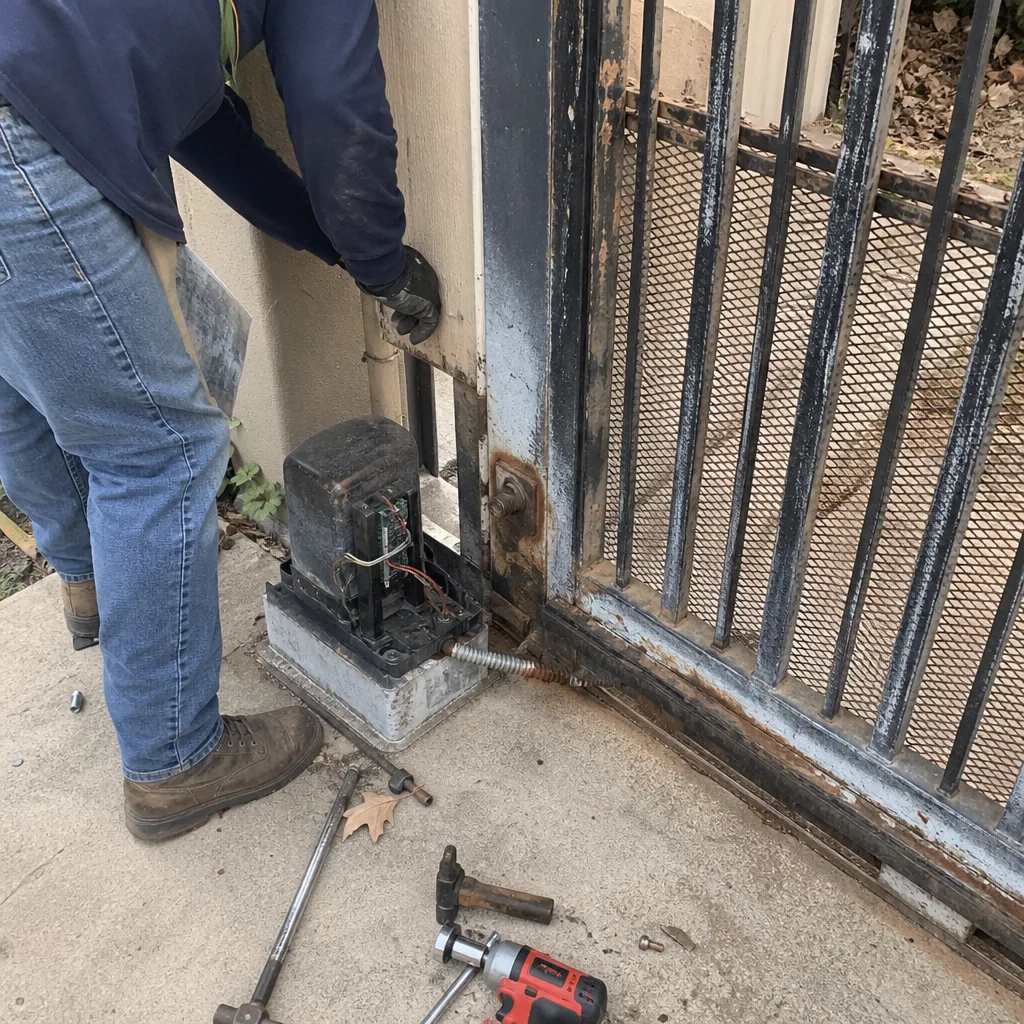 Before
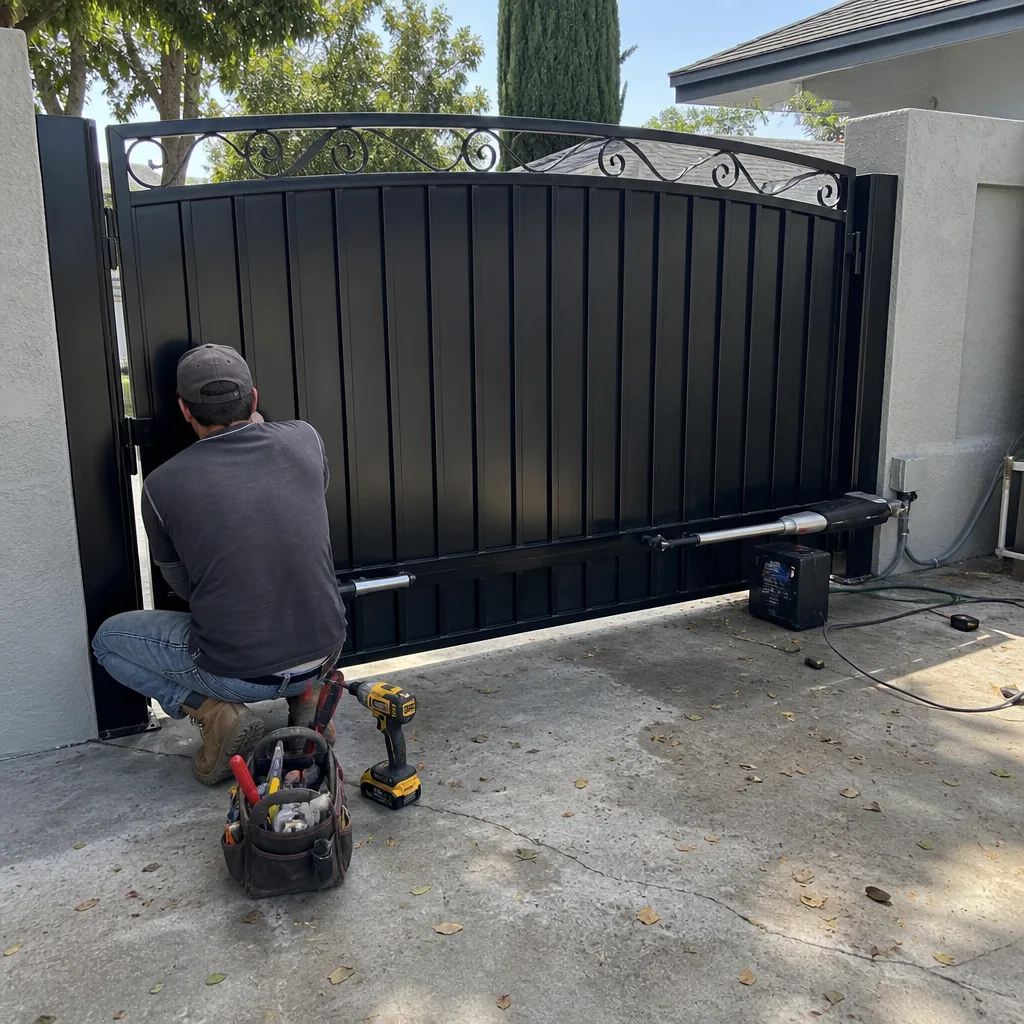 After
After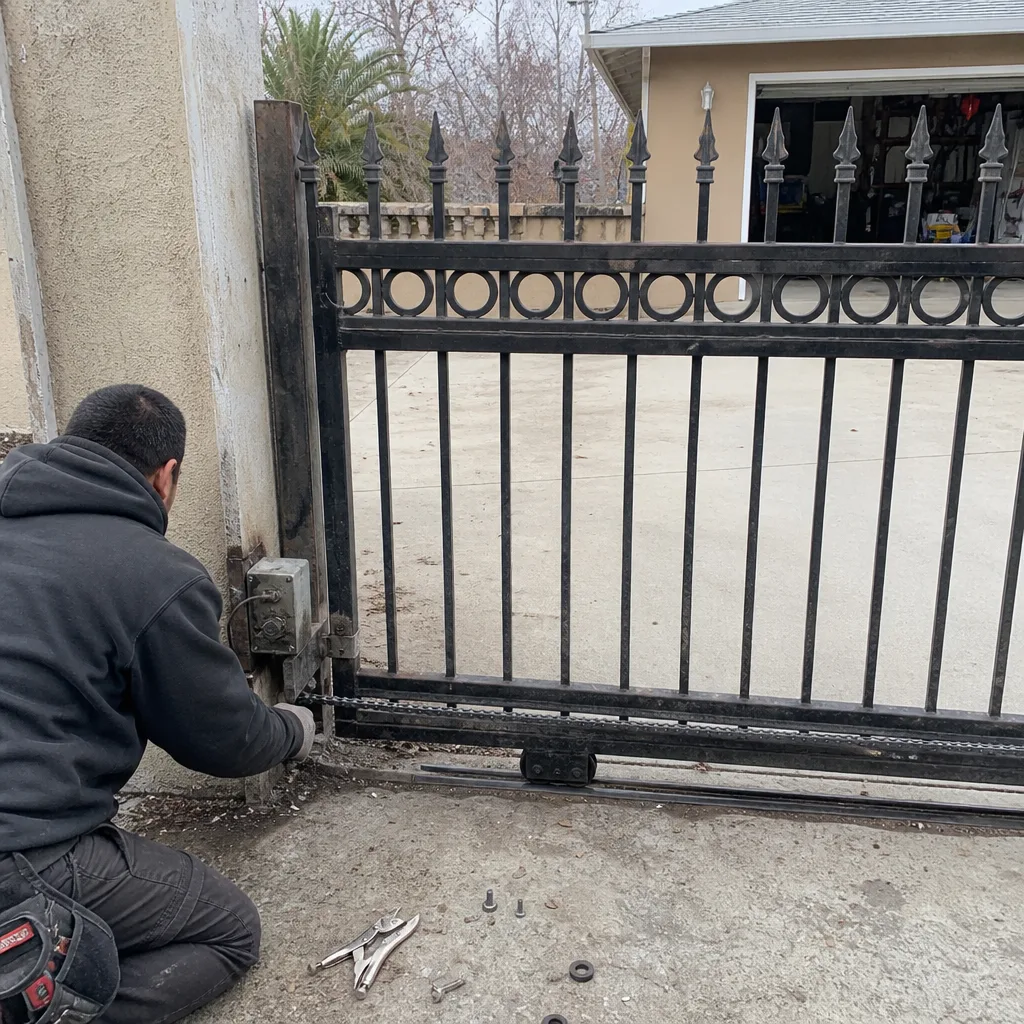 Before
 After
After Before
 After
AfterDIY vs Professional Gate Repair: The North Hollywood Homeowner’s Decision Guide
Here’s the number that surprises most North Hollywood homeowners: roughly 70% of the automatic gate service calls we run involve a repair that started as a DIY attempt. Not because the homeowner lacked skill, but because a gate is not one machine. It’s seven or eight different machines welded to the same frame: a low-voltage control system, a high-torque motor, a photo-eye safety circuit, a limit-switch feedback loop, a receiver board, a hinge load path, and a loop detector buried under concrete. Replacing a remote battery is DIY. Recalibrating a limit switch is not, not because it’s technically difficult, but because an incorrectly set limit switch can cause an entrapment event that injures someone and leaves you legally exposed. This guide sorts every common gate repair into two columns: the jobs a careful homeowner can do with basic tools, and the jobs that require a trained technician with a meter and a torque wrench, with North Hollywood code and climate context baked in.
Quick Answer
The DIY-versus-professional question for gate repair has a precise answer, not a philosophical one: it depends on which component is failing. Remote programming, hinge lubrication, photo-eye lens cleaning, and light track clearing are DIY-safe. Limit-switch calibration, loop detector tuning, board replacement, motor wiring, and any repair involving entrapment-safety circuits are professional-required, both because of California code (specifically SB 1010 and UL 325 compliance language) and because a wrong setting on a safety device is worse than no repair at all. When in doubt, the rule we tell every North Hollywood homeowner: if the part touches electricity or entrapment safety, call a professional before you touch it.
Table of Contents
- Component-by-Component: What’s DIY and What’s Not
- What California Law Says About Gate Safety Work
- The Hidden Cost of a DIY Repair Gone Wrong
- How to Document DIY Gate Work So a Pro Can Build On It
- Three North Hollywood Scenarios Where Documentation Matters
- When to Call a Professional Gate Technician
- What a Professional Brings That You Don’t Have
- Frequently Asked Questions
BeforeAfterComponent-by-Component: What’s DIY and What’s Not
This is the core of the guide. Every gate repair falls into one of two columns based on three questions: does this part carry line voltage? Does this part affect the entrapment-safety circuit? Can a wrong setting hurt someone or open the gate unintentionally? Here is the breakdown, component by component, with the reasoning spelled out.
Remote Control Programming and Battery Replacement: DIY-Safe
Programming a remote is a learn-the-button-sequence task. Every major brand, LiftMaster, FAAC, Elite, Mighty Mule, publishes the programming procedure in its manual, and most new remotes come with a QR code that opens a walkthrough video. Replacing the battery in a remote is a two-minute job with a small Phillips screwdriver and a CR2032 or A23 cell. In our experience, this is the most common repair a North Hollywood homeowner can confidently handle, and there is no safety risk because a remote doesn’t touch the gate’s travel logic, only the receiver’s open signal. One caution: if the remote is programmed and the gate still doesn’t respond, the problem is almost never the remote. Don’t buy a second remote. The issue is likely the receiver board, the antenna lead, or a power interruption at the control board, and that’s where professional diagnosis starts.
Hinge Lubrication and Hardware Inspection: DIY-Safe
A gate hinge is a load path. Every pound of gate weight transfers through the hinge pins into the post, and when a hinge dries out, the motor works harder, the limit switch reads resistance differently, and the gate begins to sag. Lubricating hinges is DIY-safe and genuinely preventive. Use a lithium-based grease or a heavy silicone spray, not WD-40, which is a solvent first and a lubricant second, and apply it to the hinge pin and the pivot point twice a year in North Hollywood’s dry climate, which accelerates metal-on-metal wear. While you’re there, check for hairline cracks at the weld points and for any bolt that has backed out. A bolt that is loose enough to turn by hand is a structural issue, not a lubrication issue, and that’s the point to call a technician.
Photo-Eye Cleaning and Obstruction Check: DIY-Safe
The photo-eye is the infrared beam that runs across the gate’s travel path and tells the control board to stop or reverse if something interrupts the beam while the gate is moving. Cleaning the lens is DIY-safe and takes thirty seconds: a dry cloth, no solvent, no adjustment. In North Hollywood’s dry season, dust and pollen coat the lens and cause false obstruction readings, which is why a gate sometimes stops halfway and reverses for no visible reason. Clean the lens first, every time. If the gate still reverses after cleaning, the problem is alignment or a failing eye, and that is a professional repair because an eye that reads but doesn’t stop the gate is an entrapment hazard.
Track Clearing for Sliding Gates: DIY-Safe (With a Caveat)
For a sliding gate, debris in the track, gravel, palm fronds, dust buildup, is a common cause of jerky movement or motor strain. Clearing the track is DIY-safe: sweep it, remove stones, check that nothing is binding. The caveat is this: if the track is clear and the gate still moves roughly, don’t start lubing the track or adjusting the rollers. A slide gate’s rollers are load-bearing and wear-adjusted, and the wrong adjustment can throw the gate out of level and strip the drive chain. Track clearing is where DIY stops and diagnosis begins.
Limit Switch Calibration: Professional-Required
Here is the line, and it’s a hard one. The limit switches tell the gate where to stop in both directions, open and closed. When they’re set wrong, two things happen. First, the gate may not fully close, leaving a gap wide enough for a small child or a pet to slip through, which defeats the entire purpose of a gate. Second, and this is the dangerous one, the gate may continue to push past the stop point and overload the motor, which causes the entrapment sensor to be bypassed or the gearbox to strip. On a properly functioning gate, the limit switch is set by a technician who uses a torque meter and a stopwatch to set the travel arc and then photographs the setting. We regularly see Do-It-Yourself limit adjustments in North Hollywood where the gate was set twelve to fifteen degrees past travel, and the homeowner never knew until the motor burned out. Reset it and photograph the new position: that’s the professional standard, and it’s not a home-tool job.
Loop Detector Tuning: Professional-Required
A loop detector is a coil of wire buried in the driveway that senses a vehicle’s metal mass and triggers the gate to open, either on approach or on exit. Tuning a loop detector involves setting sensitivity, frequency, and hold time on a control board, and a wrong setting causes one of two failures: the gate opens for every car driving by on a busy North Hollywood street, or it doesn’t open for the homeowner’s own car despite sitting directly on the loop. Both are common. Both are board-level adjustments with a multimeter, and both are professional-required, not because the knobs are hard to turn, but because an incorrectly tuned loop can leave a gate open or closed at unsafe times.
Control Board Replacement: Professional-Required
The control board is the gate’s brain, and replacing one is not a swap-the-part exercise. The new board must be matched to the motor’s voltage, amperage draw, and safety-input configuration, and the wiring diagram must be followed exactly, down to the terminal labels. A wrong wire on the wrong terminal can cause the gate to open when it should close, or worse, to run continuously without hitting a limit. We’ve followed DIY board replacements where the homeowner connected the photo-eye input to the loop-detector terminal, and the gate opened every time the phone rang. True story, and the repair cost twice what the board swap would have cost because the original mistake had to be traced, documented, and undone first. This is a professional-required job for every brand, LiftMaster, FAAC, Elite, Mighty Mule, without exception.
Gate Motor and Arm Bracket Replacement: Professional-Required
Replacing a gate motor or a swing-arm bracket is professional work for three reasons you can’t see from the outside. First, the motor’s torque setting must be matched to the gate’s weight and travel arc, and an over-torqued motor will tear the bracket out of the post and send it into the driveway. Second, the arm bracket’s geometry determines the gate’s open angle, and a bracket installed one degree off will stress the gate’s hinges unevenly and cause premature hinge failure. Third, most motor replacements involve disconnecting and reterminating line-voltage power, which is not a hand-tool job and not a safe one to learn on a live circuit. If the motor is failing, call a technician the first time. The diagnostic visit is cheaper than the repair you’ll need after an amateur installation.
The Component Break-Down at a Glance
- Remote programming and battery: DIY-safe. No safety risk.
- Hinge lubrication and hardware inspection: DIY-safe. Use lithium grease, not WD-40.
- Photo-eye lens cleaning: DIY-safe. Dry cloth only.
- Track clearing (slide gates): DIY-safe. Don’t adjust rollers.
- Limit switch calibration: Professional-required. Entrapment risk and motor overload.
- Loop detector tuning: Professional-required. Board-level adjustment with a multimeter.
- Control board replacement: Professional-required. Wrong terminal = wrong gate behavior.
- Motor or arm bracket replacement: Professional-required. Line voltage and torque geometry.
What California Law Says About Gate Safety Work
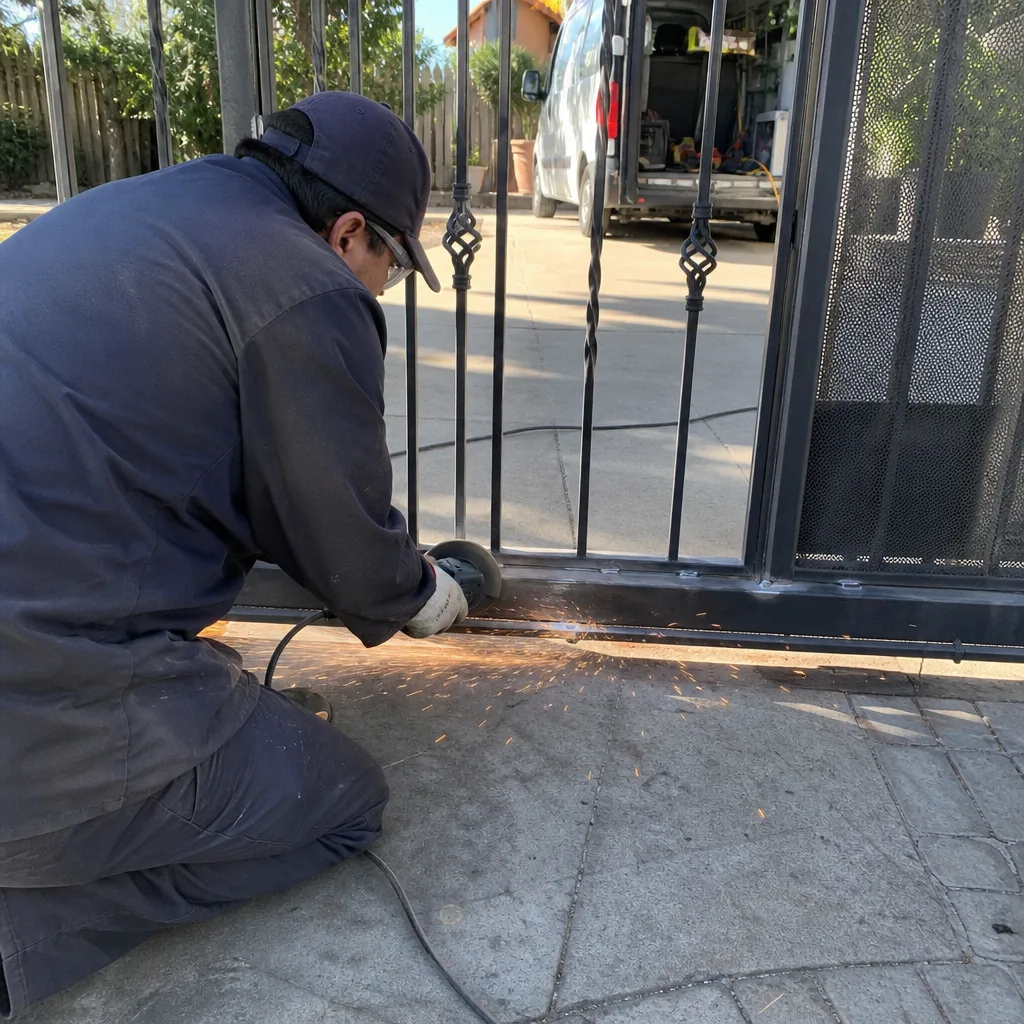
This is the section most gate-repair guides skip, and it’s the one that matters most for a North Hollywood homeowner facing an insurance claim or an injury. California has specific, enforceable code governing automatic gate safety systems, and ignorance of the code is not a defense. Here is the relevant law, in plain English.
SB 1010 (California Senate Bill 1010, effective 2018): This bill makes property owners legally responsible for ensuring that automatic gates comply with UL 325 safety standards, which include requirements for photo-eyes, contact edges, and other entrapment-prevention devices. The bill applies to existing gates, not just new installations. If your gate causes an injury and is found to be out of compliance with UL 325, the liability is on you, not on whoever installed the gate five years ago.
UL 325 compliance: This is the technical standard that SB 1010 references. It specifies that every automatic gate must have a primary entrapment-protection device (a photo-eye or contact edge) and a secondary device (the same, or a different technology) on every entrapment zone. An entrapment zone is any point where the gate’s movement could crush or pin a person, typically the leading edge, the trailing edge, and the gate’s closing pinch points. If a DIY repair disables a photo-eye or bypasses a limit switch, the gate is now out of compliance in every one of those zones.
What this means for DIY repair: The law doesn’t prevent you from working on your own gate. It prevents you from being wrong about the safety circuits. A DIY remote programming is fine. A DIY limit-switch recalibration that accidentally disables the reversal feature is not, and if someone is injured, the court will ask who touched the limit switch last. In our experience, the homeowners who get into trouble are not the ones who lack skill; they’re the ones who don’t know the safety standards exist. Now you know.
The Hidden Cost of a DIY Repair Gone Wrong
Every DIY repair that goes sideways has a second cost that no one budgets for: the cost of undoing it. A professional technician who arrives after an amateur repair doesn’t start from zero. She starts from negative: first she has to reverse-engineer what was changed, then she has to determine what was damaged by the change, then she has to restore the gate to a known-good baseline, and only then can she perform the actual repair. In North Hollywood, where gate repair call-outs typically run between $95 and $175 for the diagnostic visit alone, the undo-and-redo portion of a botched DIY job adds between one and three hours of labor, depending on how much wiring was moved. For a detailed look at what drives these costs, see our Gate Repair Cost Breakdown: The North Hollywood Homeowner’s Reference for 2026. We have seen $60 DIY board replacements turn into $600 professional restorations, and the homeowner paid both bills.
The second hidden cost is warranty voidance. If your gate motor is still under manufacturer warranty, any work that opens the motor housing, reterminates a wire, or recalibrates a limit switch can void that warranty. Manufacturers like LiftMaster and FAAC write their warranty language to cover defects in materials and workmanship, not customer modifications. A DIY repair that requires opening the control board panel is, in the manufacturer’s view, a modification, and the warranty is gone. We’ve had to tell North Hollywood homeowners that the $400 motor they bought eighteen months ago is no longer under warranty because the board was replaced by a well-meaning friend with a YouTube tutorial. The repair was successful; the warranty was not.
The third cost is the disruption of the prior professional baseline. When a gate has been professionally installed and documented, the next technician can work efficiently because the wiring diagram, the limit-switch settings, and the torque values are known. A DIY repair that moves a wire without documenting it destroys that baseline, and every future repair becomes more expensive because every future technician has to re-derive what the amateur changed. This is why we document every visit with a photo log and a written record under our North Hollywood gate repair service: the next technician should never have to guess. Your DIY repair, if you do one, should follow the same rule. Document what you changed, with photos and part numbers, and leave that record attached to the gate.
How to Document DIY Gate Work So a Pro Can Build On It
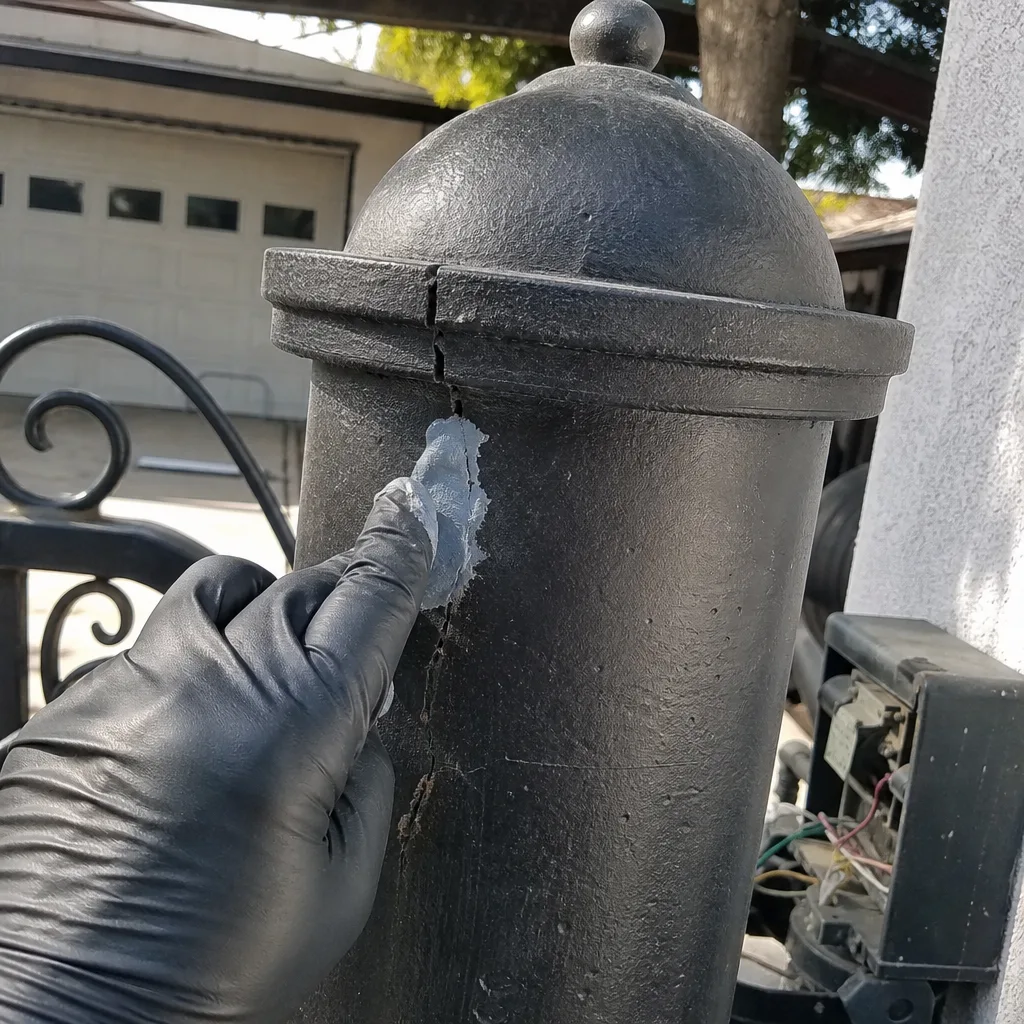
The best DIY repair is one that a future professional can understand at a glance. Here is the documentation standard we use on every job, adapted for a homeowner working on their own gate. For a complete checklist of what to inspect and when, see our Gate Repair Maintenance Checklist for North Hollywood Homeowners.
- Photograph before and after. Take a wide shot of the gate in its failure state, then a close-up of the component you’re about to touch. After the repair, take the same two shots. The before photo tells the next technician what the problem looked like; the after photo shows what you changed. Both matter.
- Record the part number, not just the part name. If you replace a remote battery, write down the battery type. If you replace a photo-eye, write down the manufacturer and model number. A part name is ambiguous; a part number is not. LiftMaster photo-eyes, for example, have at least four different models that look identical from the outside.
- Note the date and the symptom. “Gate was reversing at midpoint, cleaned photo-eye lens, still reversing” is a useful record. “Fixed gate” is not. The symptom is what the next technician needs to know if the problem returns.
- Sketch or photograph any wire you moved. If you unplugged a wire to reach a component and then replugged it, photograph the terminal block before and after. A photo of the terminal block takes ten seconds and saves the next technician half an hour of tracing.
- Attach the record to the gate, not to a drawer. A laminated note zip-tied to the inside of the control panel is the most useful thing. So is a photo album on your phone labeled with the date. The goal is that any future technician, including us if you ever call our North Hollywood gate repair team, can start from your record instead of from zero.
Three North Hollywood Scenarios Where Documentation Matters
There are three situations in North Hollywood where professional documentation matters more than the repair itself, regardless of whether the repair is technically DIY-safe. If any of these apply to you, don’t touch the gate yourself.
HOA-Governed Gates
Many North Hollywood neighborhoods, particularly the gated communities off Vineland and the newer townhome developments near the NoHo Arts District, are governed by HOA rules that make the HOA responsible for the gate but the homeowner responsible for any damage caused by unauthorized work. If the HOA’s gate fails and you attempt a DIY repair that makes the failure worse, the HOA can bill you for the full cost of the professional repair, plus any emergency call-out fees. More importantly, if the gate causes an injury and the HOA’s insurance company discovers that an unauthorized person worked on the safety system, the liability claim gets messy fast. If your gate is HOA-governed, check the CC&Rs before you touch anything, and if the gate is shared, stay out of it entirely.
Rental Property Gates
If you own a rental property in North Hollywood with an automatic gate, a DIY repair creates a liability trail that no landlord wants. The tenant’s lease presumably includes a safe premises guarantee, and an automatic gate that malfunctions after a DIY repair puts you in the position of having knowingly performed unsafe work on a tenant-occupied property. The law here, specifically the implied warranty of habitability, requires the landlord to maintain the property in a safe condition. A DIY limit-switch adjustment that disables the reversal feature is a habitability violation, and if the tenant is injured, the landlord’s insurance company will deny the claim and the landlord will pay personally. On rental property gates, always use a professional, and always keep the written record as proof of maintenance.
Gates Adjacent to Shared Driveways
North Hollywood has a mix of single-family homes and duplexes, and many driveways are shared between two parcels with a gate at the property line. A gate on a shared driveway is legally different from a gate on a single-family parcel because the gate belongs to two property owners, and any repair, professional or DIY, must be approved by both. More practically, a shared driveway gate is used by more people, and a malfunction, particularly a gate that closes on a car or a person, creates liability for both property owners. If your North Hollywood gate is on a shared driveway, the homeowner’s rule is simple: no DIY work on anything that moves the gate, ever. Call a technician for even the smallest adjustment, and make sure both property owners get a copy of the written record.
When to Call a Professional Gate Technician
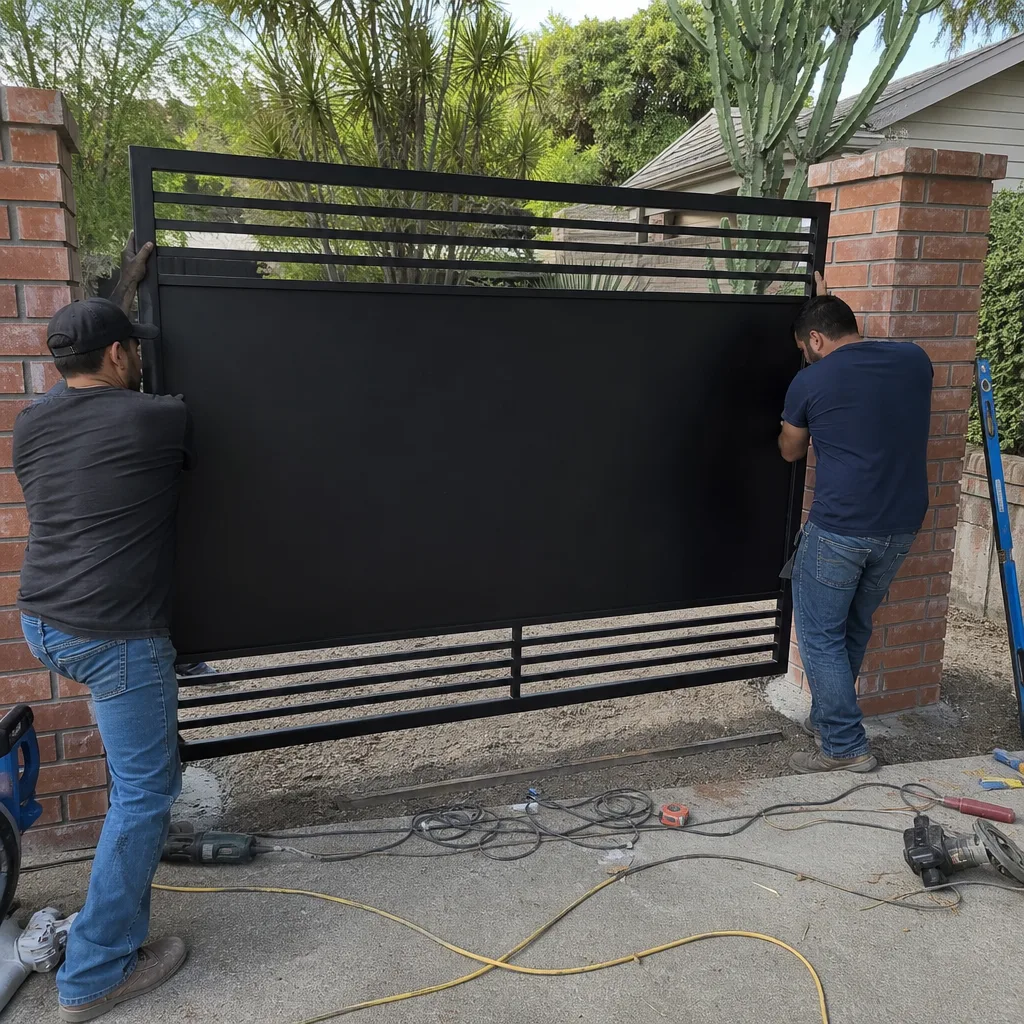
The decision framework boils down to this. If the failing component is remote-related, hinge-related, photo-eye-lens-related, or track-debris-related, and you’re comfortable with a screwdriver and a can of lithium grease, do the work and document it. If the failing component is anything else, a limit switch, a loop detector, a control board, a motor, an arm bracket, or any wiring that carries voltage, call a professional before you touch it. The cost of the diagnostic visit is less than the cost of undoing a botched repair, and the liability exposure of an out-of-compliance gate is not a risk any North Hollywood homeowner should carry. If you’re not sure which column your repair falls into, call and ask. A live person answers the phone at our North Hollywood gate motor and opener service line 24 hours a day, and the question costs nothing.
What a Professional Brings That You Don’t Have
We’re often asked what a gate technician does that a homeowner can’t. The honest answer is mostly three things: a torque meter, a multimeter, and a camera. The torque meter reads how much force the motor is exerting on the gate, which tells us whether the limit switch is set correctly and whether the gate is starting to bind. The multimeter reads voltage and continuity across every wire, which tells us whether a failing component is the motor, the board, or the wiring between them. The camera creates the documentation record, the photographic evidence of what was found, what was set, and what was installed, that we hand to every customer at the end of every job under our Haven Standard. None of these tools is exotic. All three require training to use correctly. That’s the difference, and it’s not a marketing difference, it’s a measurement difference.
We also carry a full van inventory of parts for all nine major gate-automation brands, LiftMaster, FAAC, BFT, Linear, Viking, Ghost Controls, DoorKing, Elite, and Mighty Mule, which means the repair usually happens on the first visit, not after a week of waiting for a part to ship. For a homeowner who has been living with a gate that won’t close, that first-visit repair window matters. It’s the difference between a one-day problem and a two-week problem. If you’re weighing DIY against professional repair, factor in the part-ordering delay; on many gate motors, the part you need is not on a shelf at a North Hollywood hardware store. It’s in a specialist’s van.
Common Mistakes to Avoid
- Lubricating the track or the chain with WD-40. WD-40 is a solvent, not a lasting lubricant, and on a gate chain or track it thins out the existing grease and leaves the metal dry within a week. Use a lithium-based grease or a dedicated chain lubricant, and clean the track before you lubricate it, not after.
- Adjusting the limit switch by ear. Some homeowners listen for the motor sound and try to set the stop point by feel. This is the single most dangerous DIY mistake, because a stop point that’s off by a few degrees can disable the reversal feature and create an entrapment hazard. Limit switches are set with instruments, not ears.
- Replacing the motor without checking the gearbox. In about a third of the “dead motor” calls we run in North Hollywood, the motor is fine and the gearbox has stripped. Replacing the motor without diagnosing the gearbox is a $300 mistake that leaves the gate dead and the homeowner frustrated.
- Buying a universal remote without checking frequency compatibility. Not all universal remotes work with all receiver frequencies, and North Hollywood’s older gates often run on 315 MHz or 390 MHz frequencies that newer remotes don’t support. Check the receiver’s frequency before you buy a remote, or buy an OEM remote from the gate manufacturer.
- Bypassing the photo-eye because it kept triggering. When a photo-eye triggers falsely, the temptation is to disconnect it and run the gate without the safety circuit. This is illegal under SB 1010 and dangerous under any standard. A photo-eye that triggers falsely is a repair problem, not a disconnection problem.
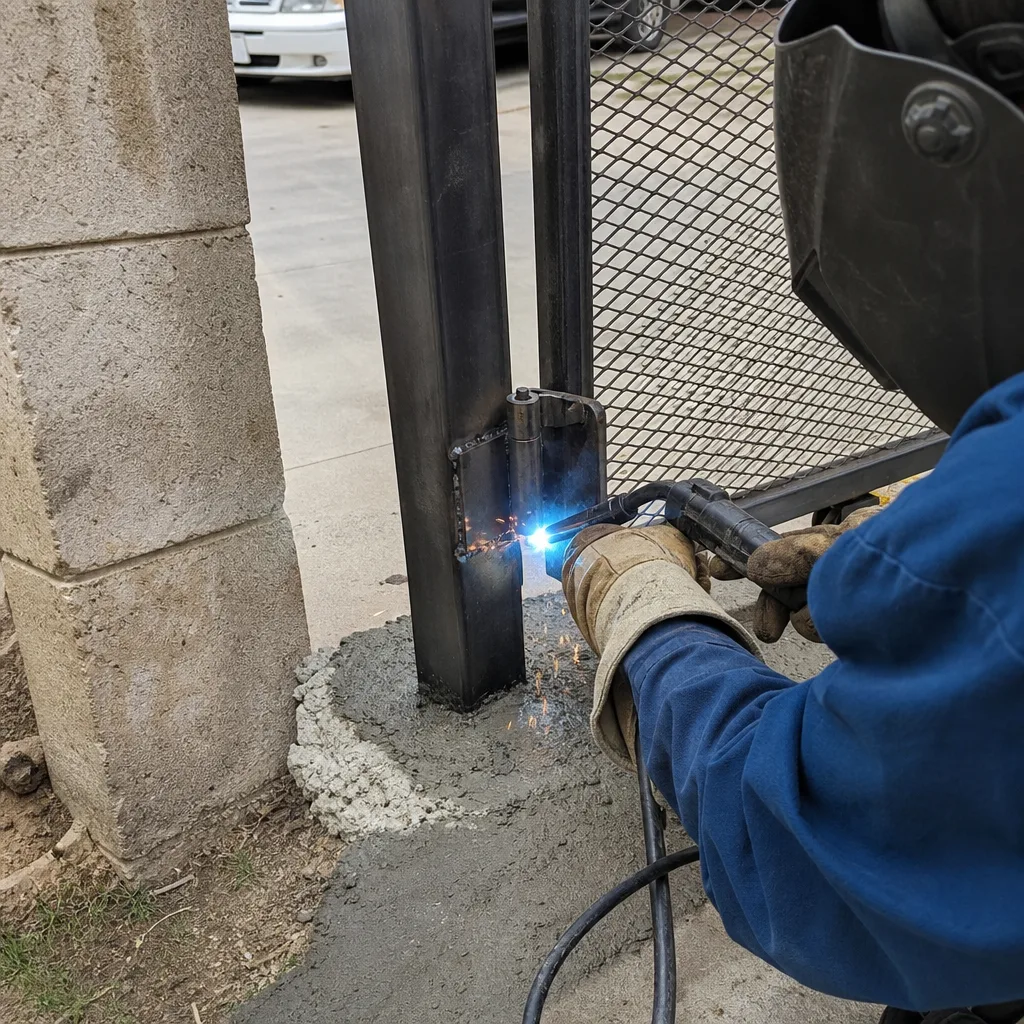
- Welding a gate hinge without disconnecting the control board. If you weld on an automatic gate without first disconnecting the control board and the motor, the welding current can arc through the board and destroy it. Weld on a gate only when the board is disconnected, or call a professional who knows to do this.
Frequently Asked Questions
Gate repair in North Hollywood typically runs between $150 and $550 depending on the component, with the diagnostic visit usually between $95 and $175. Board replacements and motor replacements fall on the higher end; hinge lubrication and photo-eye cleaning fall on the lower end. The written price is quoted and agreed before any work starts, and there is no surprise invoice at the end. Call our North Hollywood gate installation and repair line at (213) 566-1045 for an exact quote; estimates are free.
Yes, a homeowner can perform basic maintenance on their own gate, including remote programming, hinge lubrication, and photo-eye lens cleaning. However, any work that affects the entrapment-safety system, including limit switches, photo-eye alignment, loop detectors, and control boards, is subject to SB 1010 liability standards, and a homeowner who disables or misconfigures a safety device carries personal liability for any resulting injury. The safe line is this: if the repair touches electricity or entrapment safety, call a professional.
The most common gate repair we see in North Hollywood is a gate that stops and reverses at midpoint, and the cause in roughly half of those calls is a dirty or misaligned photo-eye, not an electrical failure. Cleaning the photo-eye lens with a dry cloth is the first step, and it’s DIY-safe. If the problem persists after cleaning, the alignment or the eye itself has failed, and that is a professional repair because an eye that reads but doesn’t stop the gate is an entrapment hazard.
Repairs to an existing gate generally do not require a City of Los Angeles building permit, provided you’re not changing the gate’s footprint or structural design. However, if the repair involves new electrical wiring, a new motor, or a new control system, a permit may be required, and the gate must comply with UL 325. Our team handles the permitting details when needed, so you don’t have to navigate the Department of Building and Safety alone.
Yes. A live person answers the phone at (213) 566-1045 24 hours a day, seven days a week, and our technicians are dispatched to North Hollywood for same-day emergency gate repairs when the gate is stuck open, stuck closed, or posing a safety hazard. There’s no voicemail loop and no callback queue, just a person on the line who can tell you when the technician will arrive. For non-emergency repairs, schedule at your convenience and we’ll work around your day.
Under our Haven Standard, every visit includes a written record of what was found, what was adjusted, and what was replaced, plus a photographic log of every repair step, from the initial failure state to the final tested condition. The photo log includes the limit-switch positions, the torque readings, the wiring terminal labels, and the part numbers installed. You get a copy of everything, and we keep a copy on file for future reference. No other North Hollywood gate company we know of does this on every job.
The Bottom Line
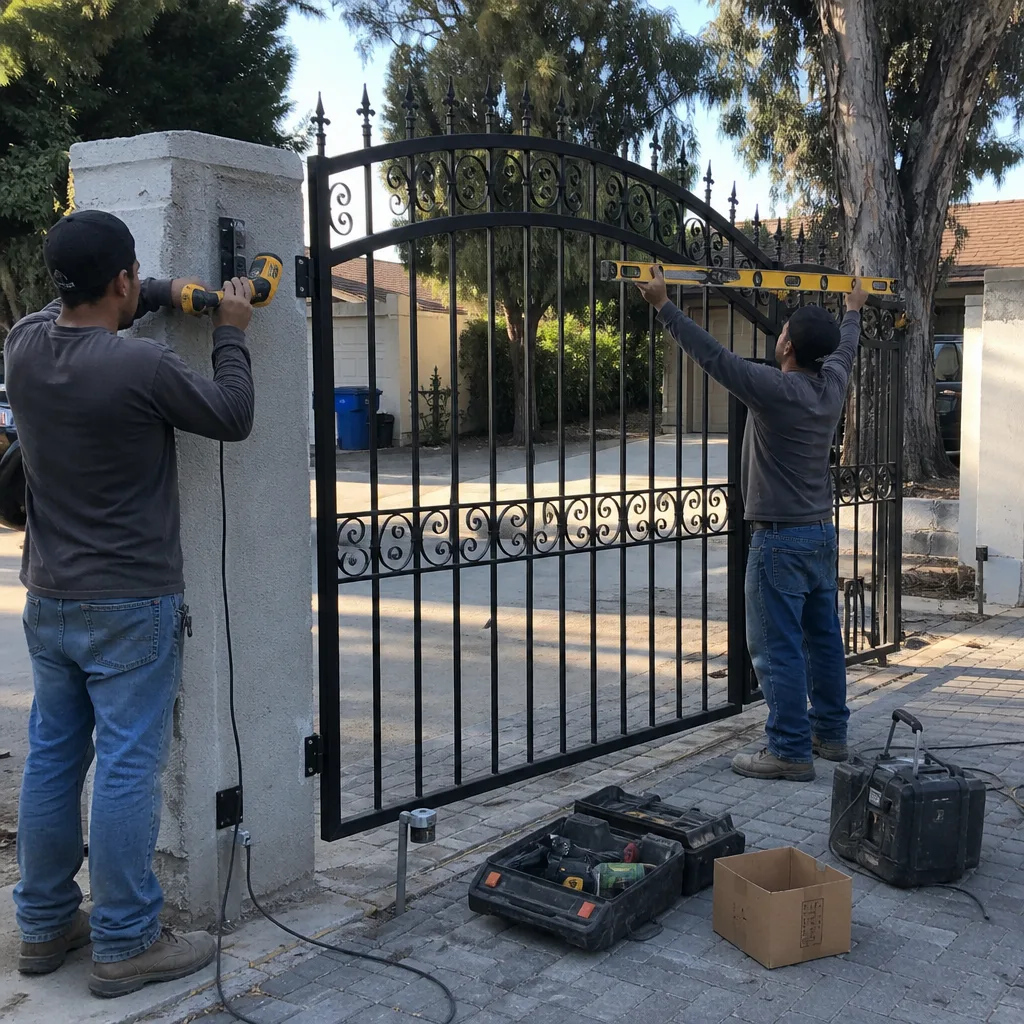
The DIY-versus-professional question for gate repair has a precise answer, and it’s this: remote programming, hinge lubrication, photo-eye lens cleaning, and track clearing are DIY-safe. Limit-switch calibration, loop detector tuning, control board replacement, motor work, and anything involving entrapment-safety circuits are professional-required, both by California law and by the physics of what goes wrong when those components fail. Document everything you do, DIY or professional, with photos and part numbers, and leave the record attached to the gate. And when the repair crosses into professional territory, Vance Gate Repair North Hollywood is at (213) 566-1045, with a written price before work starts, a photo record when the job is done, and a full year of coverage under our 365-Day Done Right Promise. For more guides & resources, visit our blog.
Written by Adrian Vance, Owner at Vance Gate Repair North Hollywood, serving North Hollywood since 2014.